
30-Second Quick Summary Encountering an inverter ground fault, “Isolation Fault (Low Insulation Resistance),” or “GFCI Error” means the solar system has detected high-voltage DC current leaking into the metal mounting brackets or the earth. To eliminate immediate electrocution and electrical fire hazards, the system has automatically triggered a protective safety shutdown.
- The Real Culprit: In 90% of cases, this issue stems from racking and cabling issues rather than a broken inverter—often caused by sharp metal rail edges rubbing through wires, poor cable management letting lines drop, or water leaking into MC4 connectors.
- Next Steps: Follow our guide below to perform a safe system reboot or check our solar brand error code matrix to diagnose the breakdown source immediately.
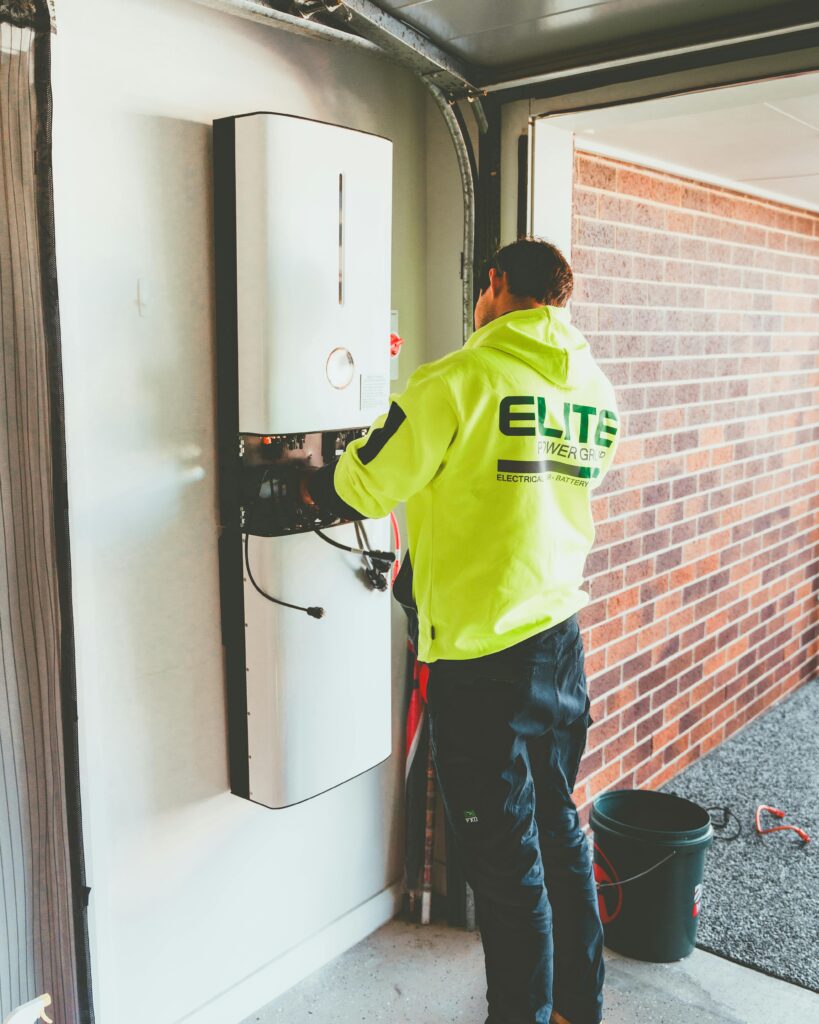
Is This Error Dangerous? Can It Cause Fires or Electrocution?
Yes, it must be taken very seriously.
Even though the inverter has disconnected itself from the utility grid, the solar array on your roof continues to generate high-voltage DC electricity ranging from 600V to 1000V as long as sunlight is present. A ground fault under these conditions means:
- The racking and module frames may be energized: Touching the metal solar mounting system at this time carries a severe risk of high-voltage electric shock.
- Risk of DC Arc Faults: If the leaking current jumps across air gaps, it can create a high-temperature electric arc capable of igniting roof waterproofing layers, color steel tile insulation, or accumulated dry leaves.
⚠️ Solarmountx Safety Tip: Treat a GFCI/Isolation fault as a critical safety alarm, not a minor software glitch. Never force-restart or bypass the system before the fault is completely resolved.
5 Root Causes of GFCI/Isolation Faults (Solar Racking Design Loopholes)
While many owners blame the inverter, the vast majority of leaks actually occur on the contact surface between the DC cabling and the metal mounting structure:
Racking Lacks Rounded Edges, Leading to Wind-Vibration Cable Abrasion (Most Common)
- How it happens: After 2–3 years of system operation, constant wind causes microscopic vibrations in the panels. Over time, cables rubbing against the sharp edges of cheap mounting rails wear down the insulation jacket, allowing bare copper wire to directly touch the aluminum or steel racking.
- Solarmountx Prevention: When choosing a racking system, always opt for heavy-duty industrial mounting solutions engineered with rounded edges or built-in anti-abrasion protective sleeves to eliminate cutting hazards at the source.
Lack of Cable Management, Causing Wires to Drop and Get Chewed by Pests
- How it happens: Small animals like squirrels and mice nest under the solar panels and chew through the wiring.
- Design Loophole: The system was installed without dedicated stainless steel cable clips or integrated cable trays. This leaves DC cables hanging loosely beneath the arrays, where they accumulate standing roof water, age prematurely, and invite rodent damage.
MC4 Connector Seal Failure (Water Ingress)
- How it happens: The error triggers frequently during heavy rain, melting snow, or dense morning fog, but automatically disappears once the weather dries up.
- Design Loophole: Connectors were not crimped tightly during construction, or loose cables dropped onto the roof surface and became submerged in puddles due to poor racking water-clearance.
Solar Module Degradation and PID Effect
- How it happens: For systems in service for over 5–8 years, micro-cracks from hailstorms or Potential Induced Degradation (PID) can cause internal circuit leakage toward the aluminum frame of the module.
Inverter False Alarms
- How it happens: When a professional megohmmeter (insulation tester) measures the DC insulation resistance to ground, everything reads completely normal, but the inverter still throws an error. This usually points to a damaged sampling circuit or a firmware anomaly inside the inverter.
3-Step Safety Self-Check (No Tools, No Wire Touching)
Per the international standard IEC 62109-1, transformerless PV systems must continuously monitor the DC-side insulation resistance (Riso). If the system detects:
Riso<30 mAUmax
The inverter must shut down within 300 milliseconds. Property owners can safely investigate using the following 3 steps:
Step 1: Record the Fault Code and Weather Conditions
- Take a photo of the exact error code on the inverter screen or mobile app (see common codes in Section 4).
- Note the current weather: Is it raining heavily? Is there heavy morning mist? Is it completely dry? (This is crucial for identifying wet-weather parasitic capacitance).
Step 2: Execute a Standard Safety Reboot
Sometimes localized electromagnetic interference or brief moisture triggers a false positive. You can attempt a reset by following this strict, non-negotiable sequence:
⚠️ Safety Warning: The shutdown sequence must not be reversed! Turning off switches in the wrong order can cause dangerous DC arcing inside the isolator.
- First, turn OFF the AC circuit breaker (AC Disconnect / household grid switch).
- Next, turn OFF the DC isolator switch (DC Disconnect / Inverter integrated switch).
- Wait patiently for 5–10 minutes to allow the internal capacitors of the inverter to discharge completely.
- Then, turn ON the DC isolator switch (DC).
- Finally, turn ON the AC circuit breaker (AC).
- Outcome A: The inverter green light comes back on, and it resumes power generation. It was likely a temporary glitch; monitor it over the next few days.
- Outcome B: The red light continues to flash, and the error code reappears immediately. Keep the system completely powered off and proceed to Step 3.
Step 3: Visual Inspection from a Safe Distance (Never Touch Components)
Stand firmly on the ground or a safe platform and use binoculars to inspect the roof-mounted solar array:
- Are there broken tree branches pressing against the panels and racking after a storm?
- Is there any smoke, burnt odor, warping, or unusual noise coming from the inverter chassis?
- Can you see any snapped or drooping wires hanging down against the sharp edges of the rails?
- If any physical damage is observed, keep the system entirely shut down and call a licensed solar electrician immediately.
2026 Solar Inverter Brand Ground Fault Code Reference Table
If your inverter screen or mobile app displays any of the following codes, the system has diagnosed a ground/isolation abnormality:
| Brand | Common Fault Code | Official Description | Initial Troubleshooting Direction |
|---|---|---|---|
| Huawei | 0207 / ID: 1 | Low Insulation Resistance | Check DC input cables and MC4 connectors for moisture or damage. |
| GoodWe | 14 / 22 / 32 | Insulation Resistance Low / Ground Leakage Current High | Inspect string insulation resistance; check for frayed wires against the rails. |
| Solis | F04 / IGF-OV | Isolation Fault / GFCI Overcurrent | Requires a professional megohmmeter to test DC-to-ground isolation resistance. |
| Deye | F23Tz / F56 | GFCI Leakage Current Failure / Isolation Fault | Check for internal mainboard sensor interference or a hard breakdown in DC cable isolation. |
Special Case: Why Does It Fail on Rainy Days and Disappear When the Sun Comes Out?
This is one of the most confusing scenarios for solar owners and asset managers: The system shuts down in the rain but works perfectly when dry. Does it need repairs?
- The Answer: It depends on the behavior.
- The Science: On rainy or highly humid days, water sheets across the solar panel surfaces. This creates a natural parasitic capacitance between the PV cells, the DC wiring, and the earthed metal racking system. When a transformerless inverter boots up, it detects a common-mode leakage current caused by this capacitive charging.
- Actionable Advice:
- The fault only triggers briefly during severe storms/heavy fog and self-recovers: This is generally a normal physical phenomenon where the inverter’s protection threshold is highly sensitive. No hardware replacement is required. Your installer can adjust the software parameters remotely if it becomes a nuisance.
- The system stays faulted after the weather clears and requires a manual reboot: This indicates a hard leak point (e.g., an MC4 connector logged with water or a cable jacket completely worn through by a metal rail), which gets exacerbated by moisture. This scenario requires an immediate service call.
How to Eliminate Ground Faults from the Design Source
Electrical safety relies heavily on robust mechanical protection. When planning or upgrading your commercial or residential solar array, implementing these hardware standards will keep your system ground-fault-free for its 25-year lifespan:
- Choose Racking with Integrated Cable Management Channels: Premium roof mounting solutions—such as the Solarmountx Industrial Non-Penetrating Racking System—are engineered with dedicated cable channels and smooth flanged profiles to eliminate physical wear caused by wind vibration.
- Eliminate All Cable Droop: During the installation phase, enforce a zero-tolerance policy for hanging wires. Contractors must use heavy-duty, UV-stabilized stainless steel wire clips to secure all DC jumpers tightly along the inside of the module frames. Cables should never touch the roof surface or sharp rail corners.
- Install Animal Guarding: If the building is surrounded by mature trees or high squirrel activity, install stainless steel wire mesh (Critter Guards) around the entire perimeter of the array to block animals from nesting and chewing.
7. Frequently Asked Questions (FAQ)
Q1: Can I use a standard multimeter to test the leak myself?
Absolutely not. A standard household multimeter utilizes a very low testing voltage (typically powered by a 9V battery), which is completely incapable of simulating high-voltage leakage or puncturing air gaps. Certified solar technicians must use a specialized megohmmeter (megger) that applies 500V or 1000V of DC high voltage to measure true insulation resistance. Operating a megger without professional training carries an extreme risk of capacitive kickback shock.
Q2: Can I just bypass or disable this error in the inverter settings to keep generating power?
Never do this. Bypassing a GFCI error is a catastrophic fire and life-safety hazard. The GFCI function acts exactly like the residual current device (RCD) in your home’s main panel. Disabling it while a ground fault exists forces high-voltage current into uninsulated paths, which is the primary cause of un-extinguishable roof-top DC electrical fires.
Q3: If my system is under warranty, will the repair be free?
Solar systems typically come with a 5-to-10-year workmanship warranty. If the fault stems from poor racking selection slicing a wire or loose MC4 connections flooding with water, it falls under installation quality and should be repaired by your installer free of charge. If the internal relay of the inverter failed, it will be covered under the inverter manufacturer’s hardware warranty.
Final Words Seeing a ground fault error doesn’t mean your solar investment is ruined. In fact, it shows that your inverter’s built-in safety systems are doing exactly what they were designed to do—protecting your property. Stay calm, follow the standard observation steps, and try a safe reboot. If the problem persists, leave the physical wire tracing to certified professionals. For more guides on high-standard solar cable safety and long-lifespan structural racking design, explore theSolarmountx Official Technical Insights.